Get Started with Firebase In-App Messaging
As app developers, we try to make our apps more convenient and simple. To provide it we often need the help of third-party services.
For this reason, we jumped right into Firebase and now we are ready to share our experience with it.
What is Firebase?
Firebase is a mobile and web application development platform. Firebase is made up of complementary features that developers can mix-and-match to fit their needs. […] Firebase’s initial product was a real-time database, which provides an API that allows developers to store and sync data across multiple clients. Over time, it has expanded its product line to become a full suite for app development.
Source: Wikipedia.
In a nutshell, Firebase is a set of tools that allow you to develop an application without server-side programming. It has a real-time database, authentication system, crash reporting, analytics and other services.
Firebase has an intuitively understandable interface and doesn’t require special skills.
On August 20th, Firebase added a new product to their ecosystem: In-App Messaging.
Getting started with Firebase In-App Messaging
As an app developer, engaging users to your app is one of your biggest challenges. While OS notifications are a great way to remind users to return to your app, they can get lost in dozens of thousands of notifications.
Firebase In-App Messaging allows you to engage users by sending them targeted, personalized, and contextual messages. These messages nudge users toward important in-app actions, such as subscribing to your newsletter, watching a video, or buying an item.
Let’s imagine that you have a shopping app. Some of the users who browse a particular section of the app are shown an event banner that shows them your deals and discounts.
You can hard-code the banner, but changing discount terms or message will require uploading a new version of the app. With Firebase In-App Messaging, it takes a few minutes to configure the message, set up the terms and display the banner.
Let’s take a deep dive into In-App Messaging.
Implementation path
Add the Firebase SDK
First of all, you should create a new Android Studio project with all the dependencies for the Firebase SDKs you want to use.
/* for Firebase Analytics and Firebase at all */
implementation 'com.google.firebase:firebase-core: 16.0.3'
/* Firebase In-App Messaging */
implementation 'com.google.firebase:firebase-inappmessaging-display:17.0.1'
If you are starting from scratch and don’t know how setup Firebase SDK, you will be best served reading the following article first:
After the app has been synced with Firebase console, let’s proceed to the next point.
Create basic UI and events for Analytics
Our app is pretty simple. It has just one button on the Main Activity that opens another activity:
{screen of first activity -> arrow -> screen of second activity}
After the second screen has been open, users see the banner created by In-App Messaging tool.
To trigger and log an event you should create an instance of Firebase. You can use default events, but note that custom events provide us with more clarity by data analytics.
To handle button onclick events in Android using OnClickListener, apply the following code:
val firebaseAnalytics = FirebaseAnalytics.getInstance(this)

firebaseAnalytics.logEvent("ButtonClicked", Bundle.EMPTY)

In SpecialGoodsActivity onCreate() method add this code:

val firebaseAnalytics = FirebaseAnalytics.getInstance(this)

firebaseAnalytics.logEvent("SpecialGoodsScreenOpened", Bundle.EMPTY)
Of course, if you are going to implement Firebase features (especially Analytics) in your app, I suggest you to setup Firebase instance in base classes to avoid repeating code. But now we just learning, so do not mind it.
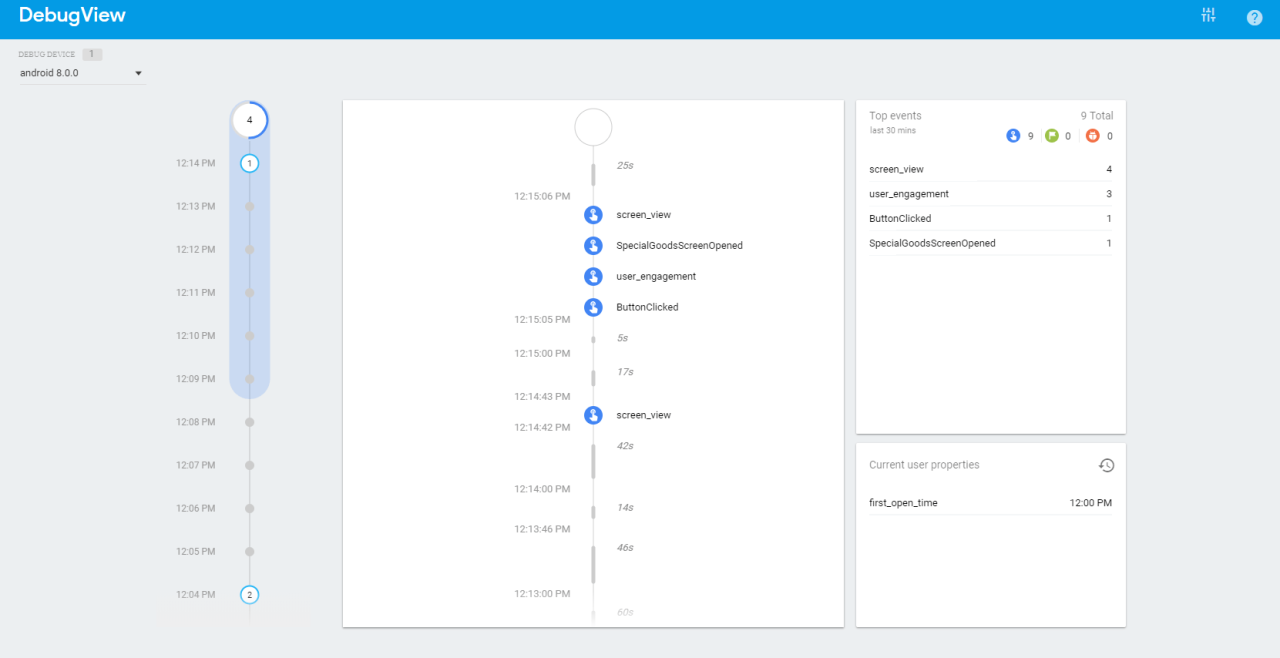
Now you have received two custom events: “ButtonClicked” in Main Activity and “SpecialGoodsScreenOpened” in SpecialGoodsActivity.
Debugging Events
To enable Analytics Debug mode on an emulated Android device, open Android Studio Terminal Panel and execute the following command line:
adb shell setprop debug.firebase.analytics.app
If you would like to change the package name, open build.gradle file, find the package of your app and place it in the <your_app>.
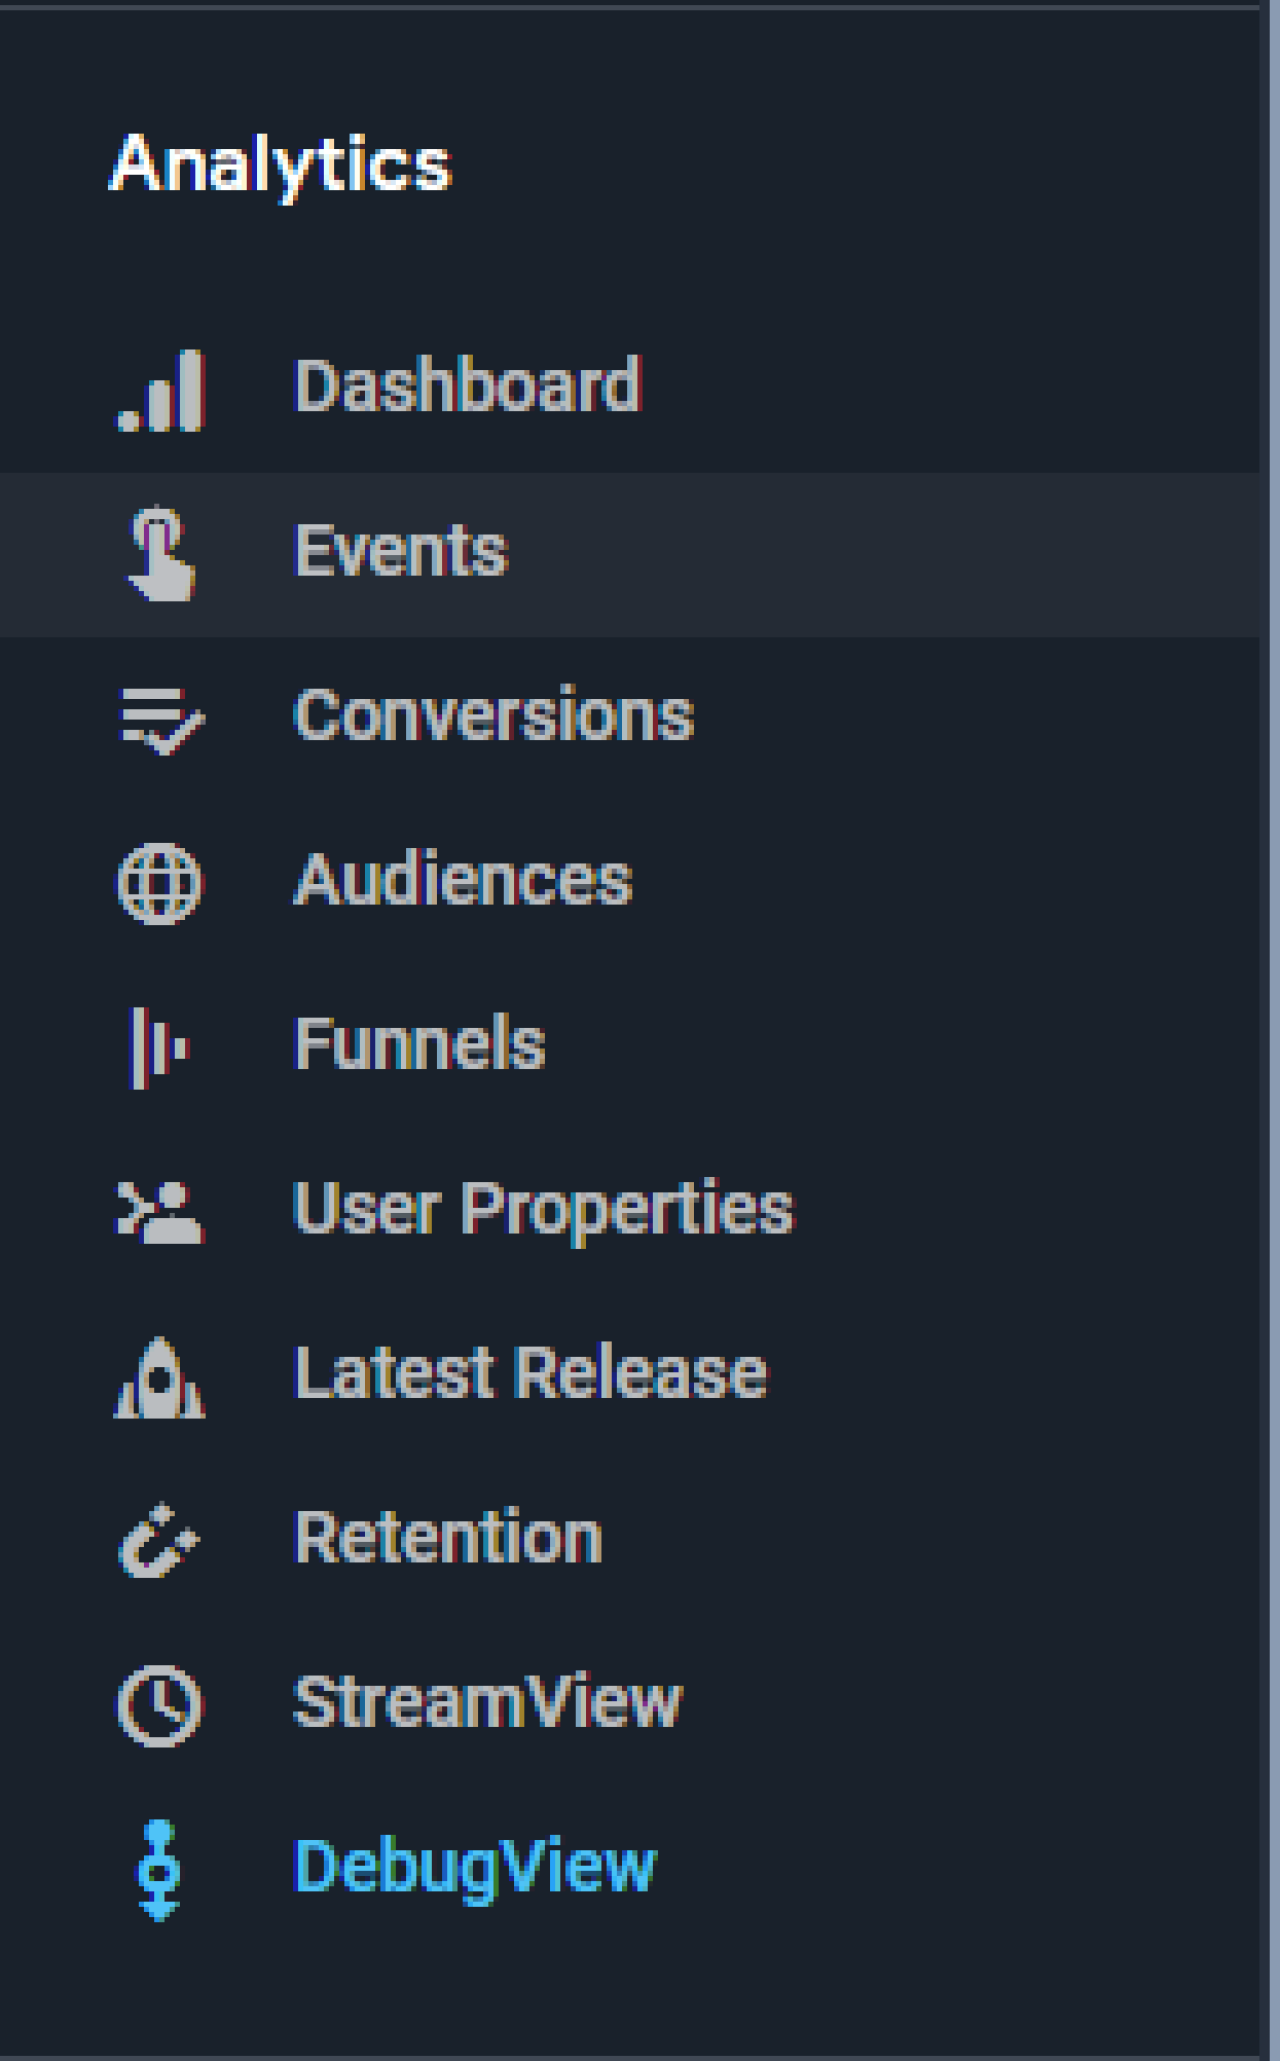
Open the DebugView section of the Firebase console:
Next, open your app and click on the button. It may take a few minutes to upload all the recent events that happened in your app. When you’re done, you should have something like the following:
Setup In-App Messaging
Now open In-App Messaging tab in Firebase Console and click on “Create your first campaign”.
Yay! You can now proceed to the next steps. 🙂
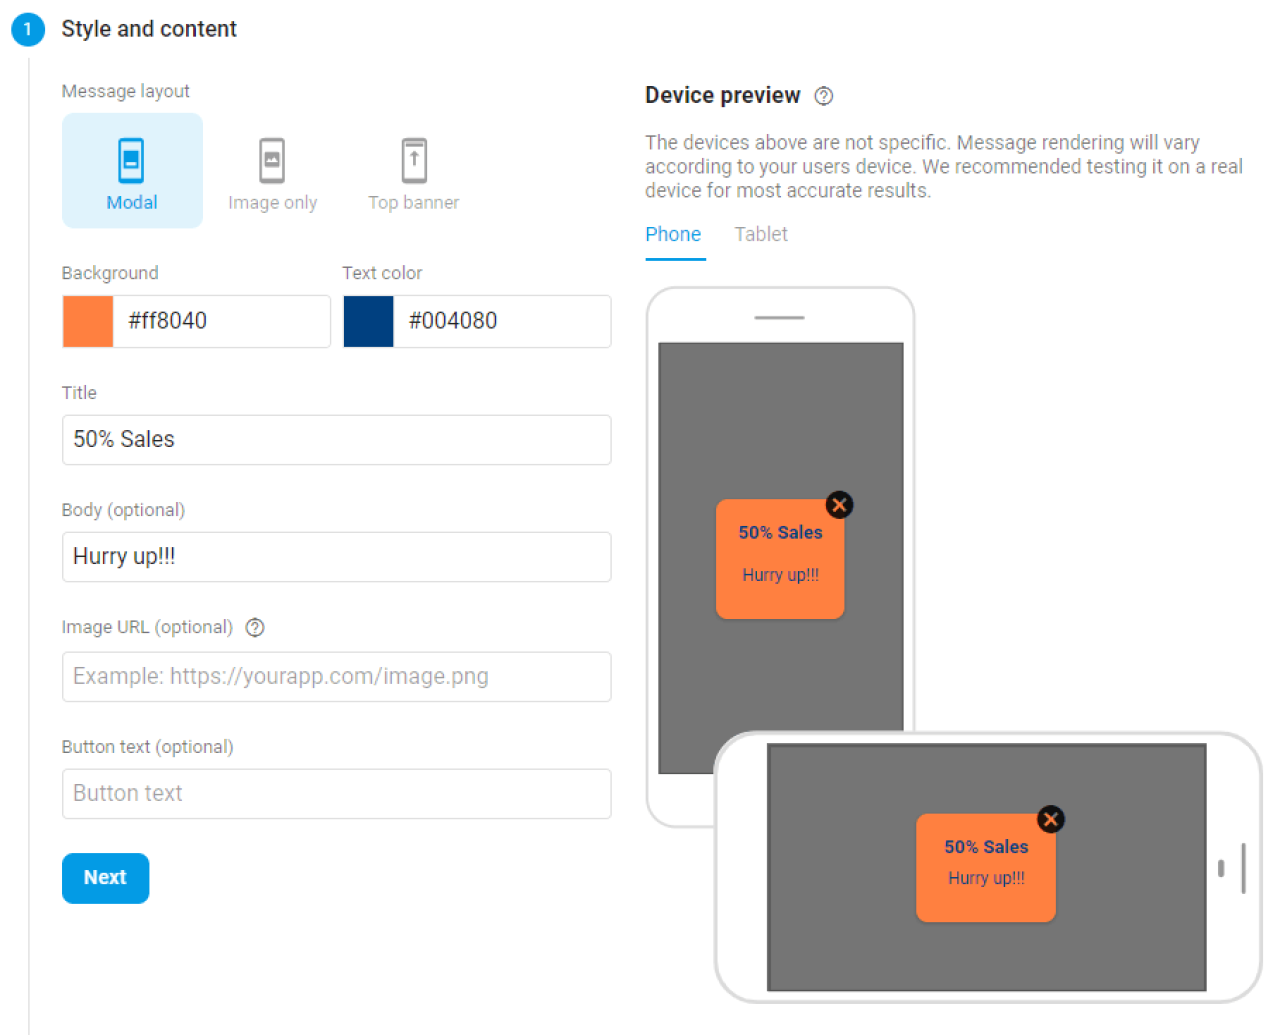
Style and content
Now you have to add the content and set the message style for our campaign. I have created a simple modal view with title and message that will inform my users about the recent discount. If you want to use a button, you will be best served reading the Firebase Dynamic Links topic first.
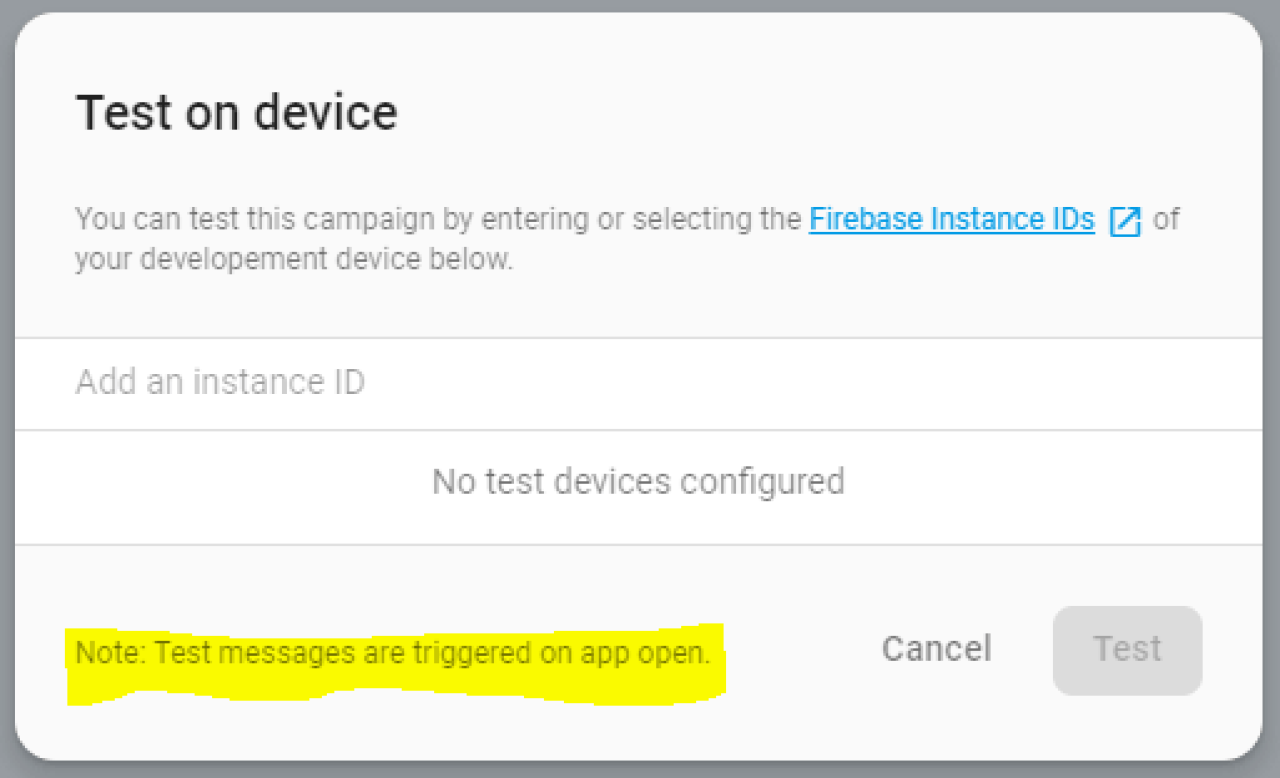
There is a “Test on device” option. But note this option works only for app opening event and allows you just to see the appearance of your message.
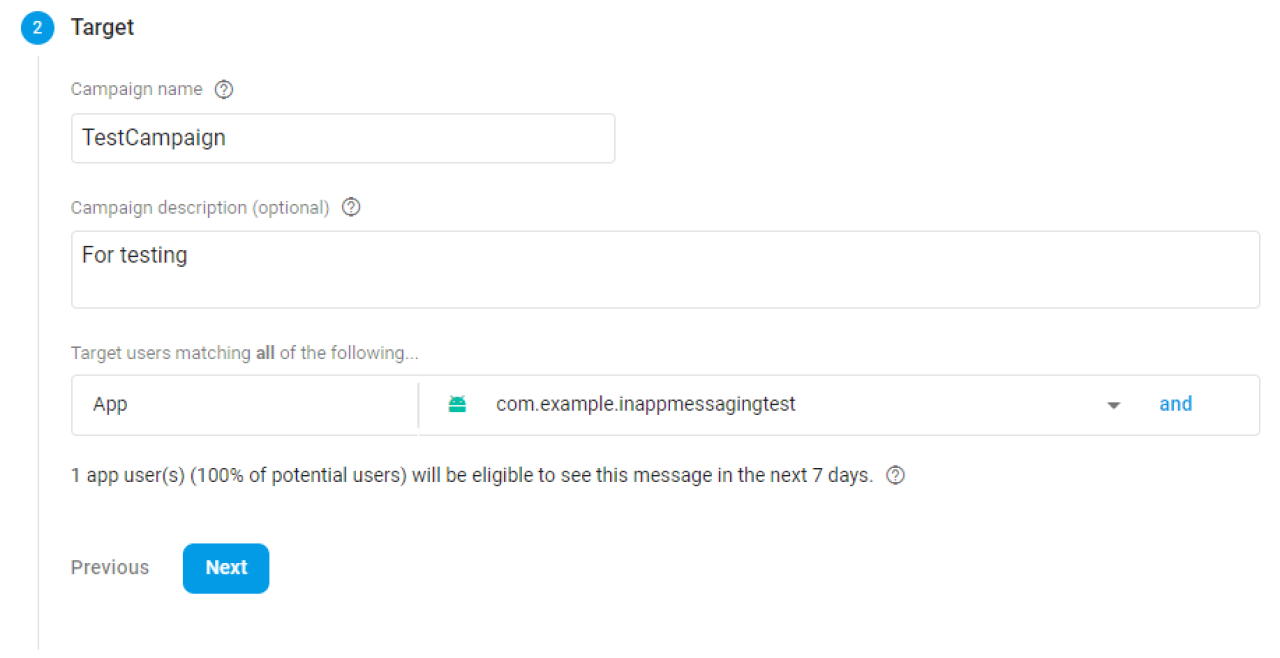
Target
This is where you select the target user, enter a name for your campaign, add a description and select an app that you want to use.
Campaign name and description are not visible to the users and can be used to track your campaigns. Target app and other conditions are visible to all users.
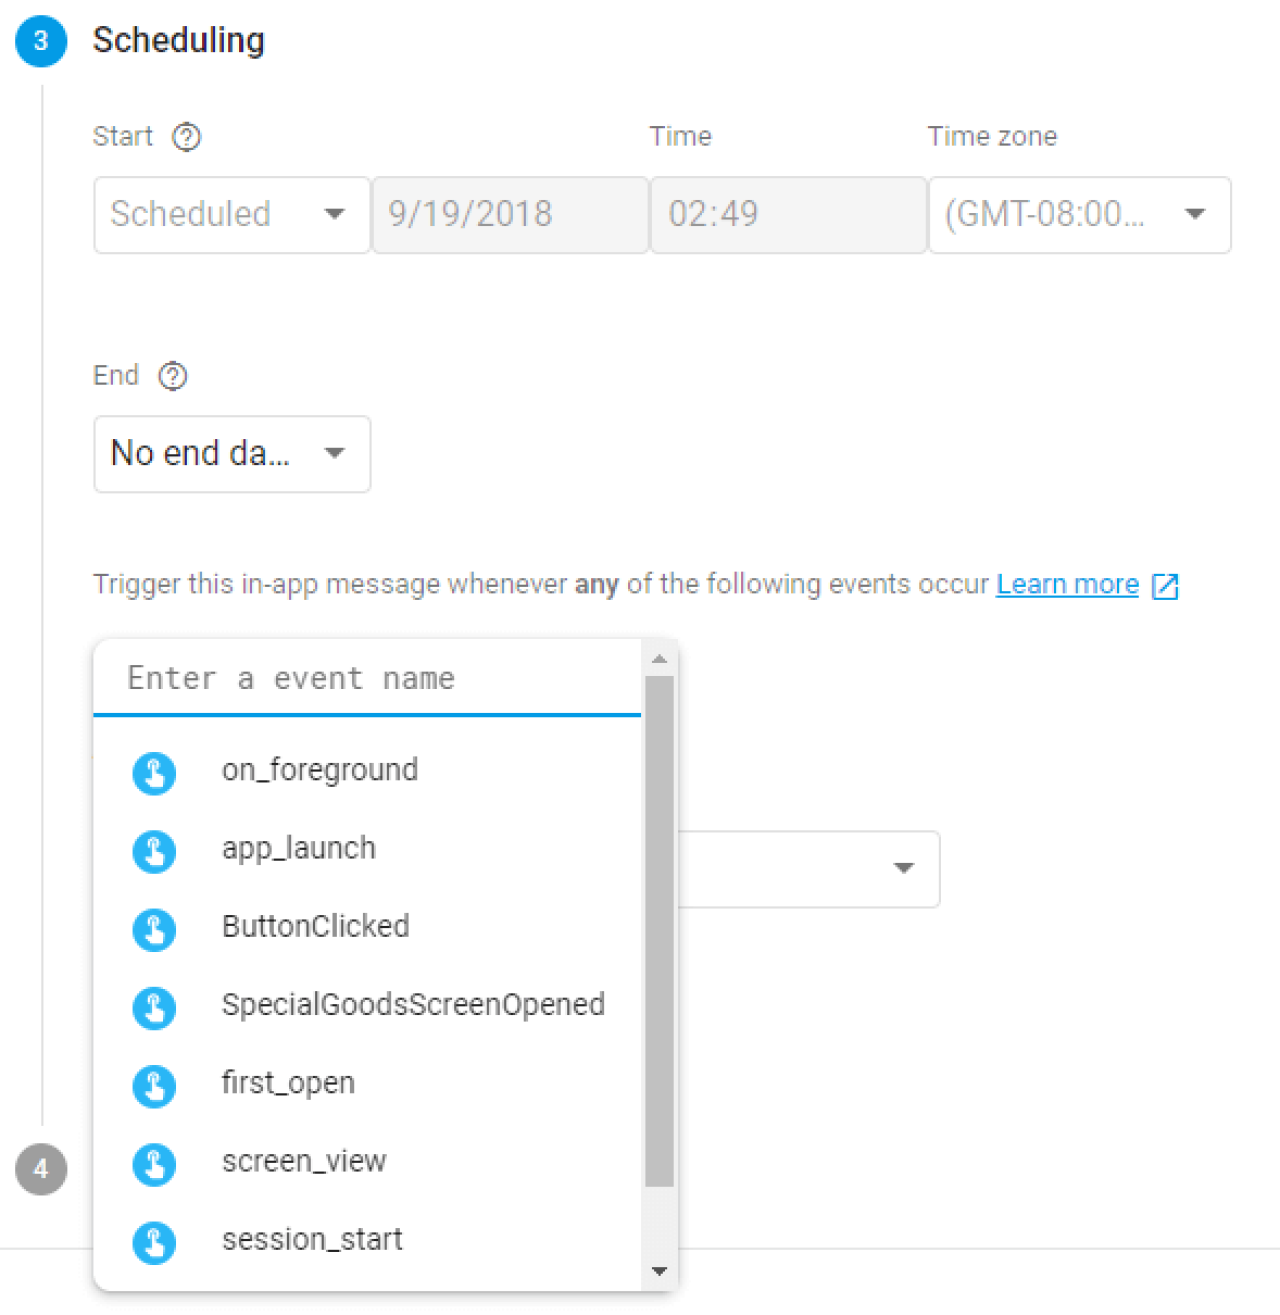
Scheduling
You can define the start date and the end date for your campaigns along with options like the trigger condition and number of times the message is to be shown.
An “on_foreground” default event will be triggered by app opening. You can use any event on the Event tab. To make our custom events visible in In-App Messages events list you have to turn them on as conversions on Event tab:
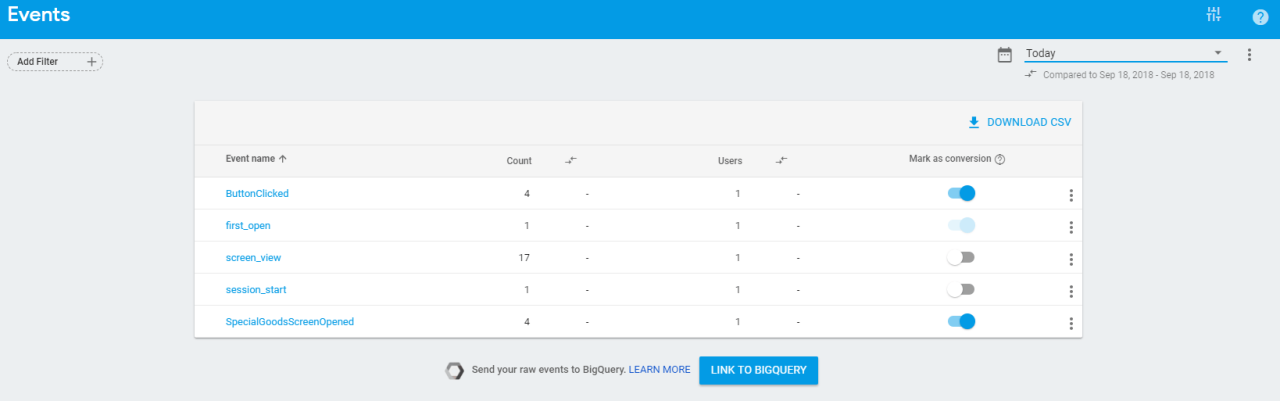
- You can see custom events in the list in some hours after their first appearance.
- Add our custom event “SpecialGoodsScreenOpened”.
The fourth step now is optional so we just skip it.
Result
Finally, it’s time to publish our campaign. Click on the button and receive a message.
If you’re not done with configuring the campaign or still need to decide on the strategy, you can always save it as a draft and come back later to modify.
Congratulations! Now you have a very convenient way to engage your users and to get more value from your apps. Combining this feature with other handy Firebase tools may take your mobile development on a new level.
I hope you’ve enjoyed this Firebase tutorial. If you have any questions feel free to leave them in the discussion below!

 (7 votes, average: 4.71 out of 5)
Stay tuned. Monthly digest of the best stories.